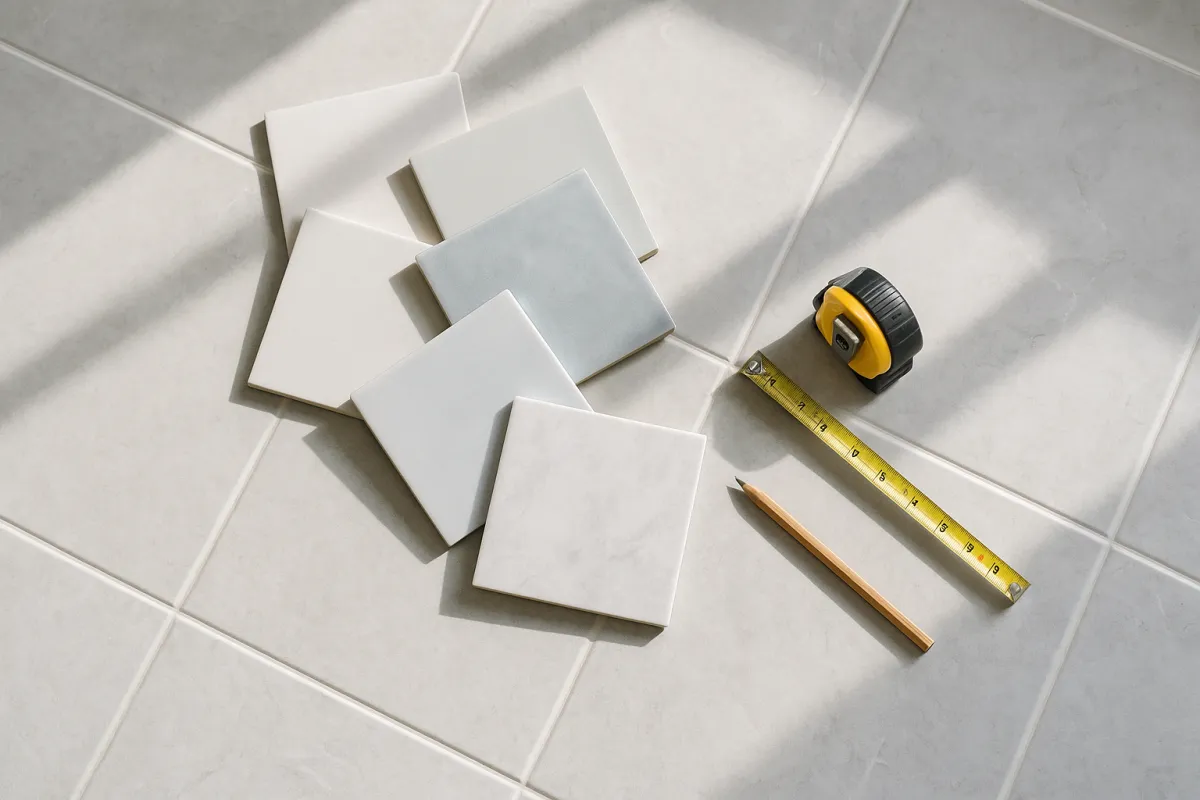
What's on this page
- What tile flooring costs
- Ceramic tile cost per square foot
- Porcelain tile cost per square foot
- Large-format and polished porcelain cost
- A quick note on natural stone and specialty tile
- What subfloor prep and backer board add
- Removing old flooring, what it adds
- Waterproofing a wet-area floor
- Pattern and layout, what diagonal and herringbone add
- Grout, sealing and trim
- Radiant floor heat under tile
- Tile size and what it changes about labor
- Where a typical tile flooring budget goes
- Cost by room size and type
- DIY versus hiring a tile setter
- How to read a tile installation quote
- Common mistakes that blow a tile budget
- A worked example, a 200 sq ft kitchen floor in porcelain
- Tile versus LVP versus hardwood, how to choose
- Regional and seasonal price swings
- The bottom line
Short answer: Installed ceramic tile commonly runs an illustrative $7 to $14 per square foot and installed porcelain $8 to $18, with large-format or polished porcelain reaching $15 to $25. A 200 square foot kitchen floor in mid-range porcelain commonly lands near $2,600, before waterproofing a wet area, removing old flooring or correcting an uneven subfloor move the total.
Tile flooring cost is really three numbers stacked on top of each other: the tile and setting materials, the labor to prepare the substrate and set it correctly, and whatever the room underneath the tile needs before the first piece ever goes down. Two rooms of the identical square footage can land in very different places, because one is a flat, dry living room floor over plywood and the other is a bathroom floor that needs a waterproof membrane, a slope to a drain, and old cracked tile broken out first.
This cost file prices tile flooring the way an installer actually builds the number: material first by tile type, then subfloor prep and removal, then the wet-area waterproofing question that changes a bathroom job more than almost anything else, then pattern and tile size, then labor and the finishing details like grout and trim. Our hardwood floor cost file, LVP flooring cost file and vinyl versus laminate comparison price the other common flooring choices if tile turns out not to be the right fit everywhere in the house. Price your own room in the job cost estimator as you read.
Key takeaways
- Installed ceramic tile commonly runs an illustrative $7 to $14 per square foot and installed porcelain $8 to $18, with large-format porcelain reaching $15 to $25.
- A waterproof membrane for a wet-area shower floor commonly adds an illustrative $2 to $5 per square foot, and skipping it on a wet floor is one of the costliest mistakes a tile job can make.
- Removing old flooring before tiling commonly adds an illustrative $1 to $3 per square foot, more if old tile and its mortar bed have to come out first.
- Mid-size tile is usually the cheapest to install; mosaic and large-format tile both cost more in labor, for opposite reasons.
- A 200 square foot kitchen floor in mid-range porcelain commonly lands near an illustrative $2,600 before removal, waterproofing or subfloor correction.
What tile flooring costs
Priced honestly, tile flooring is a per-square-foot material and labor figure multiplied by your room’s area, with a short list of add-ons that either apply to your specific room or do not. As an illustrative guide, ceramic tile installed on a flat, prepared subfloor commonly lands around $10 per square foot at the midpoint, inside a band of roughly $7 to $14, and porcelain commonly lands around $13 per square foot at the midpoint, inside a band of roughly $8 to $18. Large-format or polished porcelain climbs higher still, commonly $15 to $25.
What sits outside those per-square-foot bands is where many homeowners get surprised, because it is easy to price the tile itself and forget the room underneath it. Removing old flooring is outside. A waterproof membrane for a wet area is outside. Correcting an uneven or cracked subfloor is outside. Trim pieces, transition strips and any decorative accent band are outside. None of those are padding; all of them are real scope that a careful installer accounts for before quoting.
The practical move is to price the job in layers rather than as one number: tile and setting materials, subfloor condition and prep, wet-area waterproofing if it applies, and labor shaped by tile size and pattern. The estimator keeps those as separate fields for exactly that reason, so your own square footage turns into a number built the same way a real quote is.
Ceramic tile cost per square foot
Ceramic is the most widely available and typically the least expensive tile category, made from clay fired at a lower temperature than porcelain, which leaves it somewhat more porous. Illustratively, installed ceramic tile commonly runs $7 to $14 per square foot, and within that range the tile itself usually accounts for less than half, with labor and setting materials making up the rest.
Because ceramic is more porous than porcelain, it generally needs sealing at the grout lines and is the more common choice for walls, backsplashes and dry floor areas rather than for a shower pan or a floor that sits in standing water. That is not a durability flaw so much as a matched-to-the-job distinction: a kitchen floor that occasionally gets mopped is a very different exposure than a shower floor that drains water daily.
Ceramic’s real advantage is breadth of selection at the lower end of the price range. Glazed ceramic tile comes in an enormous range of colors, patterns and finishes at a price point porcelain rarely matches, which is why it remains the default choice for a budget-conscious kitchen, mudroom or powder room floor in a dry part of the house.
Porcelain tile cost per square foot
Porcelain is fired at a higher temperature from a denser clay body, which makes it harder, less porous and more resistant to water and wear than ceramic. Illustratively, installed porcelain tile commonly runs $8 to $18 per square foot, generally $1 to $4 more per square foot than a comparable ceramic tile at the same size and finish level.
That density is the reason porcelain is the standard recommendation for a shower floor, a mudroom, an entryway, or any space with heavy foot traffic or real water exposure. Porcelain is also harder to cut, which can add modestly to labor time, particularly on through-body porcelain where the color runs all the way through the tile rather than sitting only on a glazed surface.
Through-body porcelain, where a chip does not reveal a different color underneath, sits toward the upper end of the porcelain range and is worth the premium specifically in high-traffic areas where a chipped edge would otherwise be visible. For most residential floors, a glazed porcelain in the middle of the range is more than durable enough, and the through-body upgrade is a judgment call about wear visibility rather than a structural necessity.
Large-format and polished porcelain cost
Large-format tile, generally meaning pieces 24 inches and larger on a side, has become a popular look for its minimal grout lines and clean, continuous appearance. Illustratively, installed large-format porcelain commonly runs $15 to $25 per square foot, noticeably above standard-size tile of the same material.
The premium is almost entirely labor rather than material. Large tiles are heavier and more fragile to handle, they show an uneven substrate far more readily than small tile does, and setting them correctly commonly requires a leveling-clip system to keep edges flush as the thin-set cures. A substrate that is out of flat by even a modest amount, which a small tile simply steps over at each grout line, can show as a visible lippage problem across a large-format tile.
Polished and high-gloss finishes add their own consideration beyond price: a highly polished floor tile is noticeably more slippery when wet than a matte or textured finish, which matters in a bathroom or entry more than it does in a dining room. If slip resistance is a real concern in the room, ask about the tile’s rated slip coefficient rather than judging by the showroom sample alone.
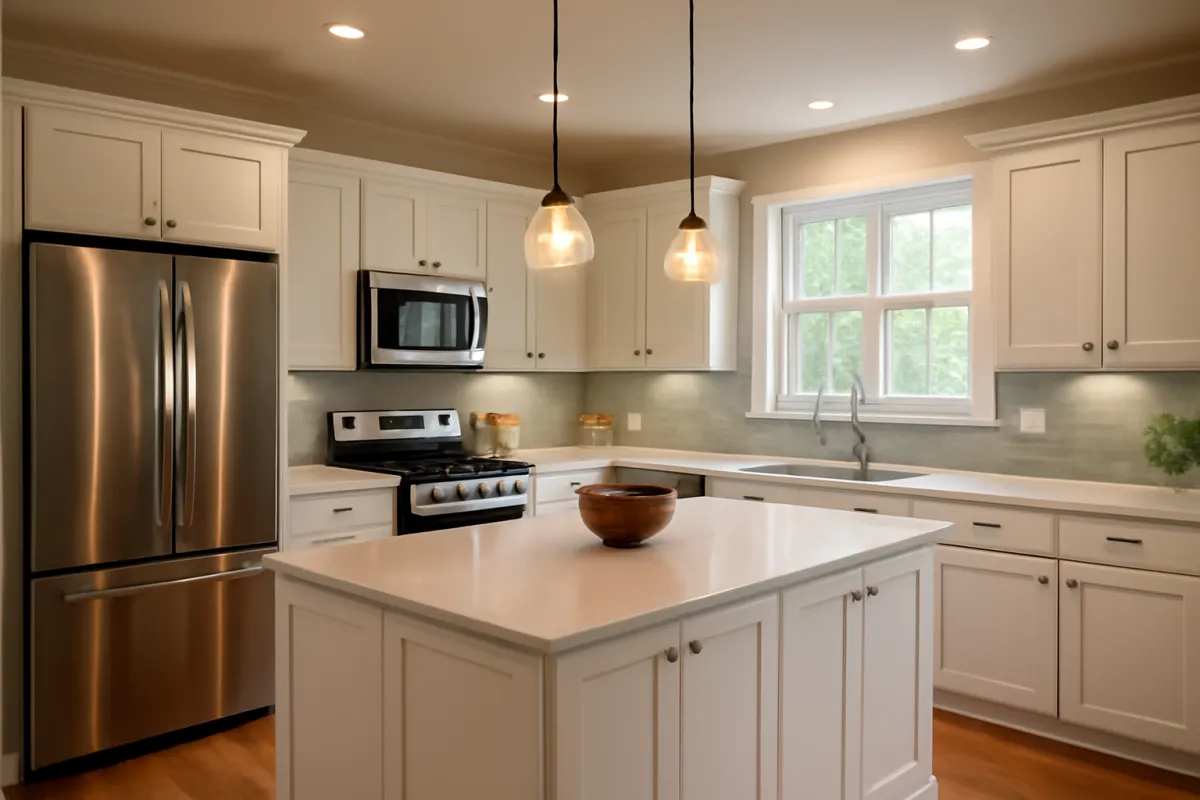
A quick note on natural stone and specialty tile
Natural stone tile, meaning marble, travertine, slate and similar quarried materials, and handmade specialty tile both exist well above the porcelain range covered in detail here, and their pricing varies enormously by quarry, finish and import costs in ways that resist a useful illustrative band. Stone also carries its own sealing and maintenance requirements that ceramic and porcelain do not.
This cost file focuses on ceramic and porcelain because together they cover the large majority of residential tile floor installations, and because stone pricing is genuinely too variable, by slab, by finish, by origin, to offer an honest range without guessing. If stone is on your shortlist, treat the figures here as the floor of your budget rather than the ceiling, and get material pricing directly from a stone supplier before assuming any number.
What subfloor prep and backer board add
Tile needs a flat, rigid, stable surface underneath it, and very few subfloors arrive that way on their own. Over a plywood or OSB subfloor, cement backer board is the standard underlayment, screwed and taped at the seams to create the stable base tile requires. Illustratively, backer board installation commonly adds $1.50 to $3 per square foot on top of the tile and setting labor figures above.
Skipping proper backer board, or setting tile directly over a subfloor that flexes, is one of the more common sources of cracked grout lines and, eventually, cracked tile, because tile is rigid and an unstable substrate underneath it concentrates stress at the grout joints until something gives. This is not a step a careful installer treats as optional, and a quote that does not mention it for a plywood subfloor is worth a direct question.
Over an existing concrete slab, the subfloor is already rigid, and prep instead focuses on flatness: self-leveling compound to correct low spots, illustratively adding its own modest per-square-foot cost depending on how much correction the slab needs. A slab with cracks also needs a crack-isolation membrane before tile goes down, since an unaddressed crack in concrete has a way of eventually telegraphing up through the tile above it.
Removing old flooring, what it adds
Very few tile jobs start on a bare, empty subfloor, and removal is a real line item even when it is not shown as one. Illustratively, removing and hauling away old flooring commonly runs $1 to $3 per square foot, and what is coming out decides where in that range you land.
Pulling up sheet vinyl, laminate or carpet and pad is comparatively quick and sits toward the lower end. Breaking out old ceramic or porcelain tile is slower and harder on tools, and it is not finished once the visible tile is gone: the old thin-set or mortar bed underneath often needs to come up too, or at minimum be ground flat, before new backer board or self-leveling compound can go down correctly.
Ask specifically whether a quote’s removal line includes taking the old mortar bed down to subfloor, because a quote that only removes the visible tile and leaves an uneven mortar layer behind is setting up exactly the flatness problem the next section describes, particularly if large-format tile is going in afterward.
Waterproofing a wet-area floor
For a shower floor, this is not an optional upgrade, it is the step that keeps water from reaching the framing and subfloor underneath the tile. Illustratively, a bonded waterproof membrane system commonly adds $2 to $5 per square foot on top of ordinary tile installation, and it typically includes sloping the substrate toward the drain as well as the membrane itself.
For an ordinary bathroom floor outside the shower pan, full membrane waterproofing is less universal, and a moisture-resistant backer board or underlayment is the common standard instead, which is a lighter and cheaper step than a bonded shower membrane. The distinction matters because asking for “waterproofing” without specifying which part of the room you mean can produce two very different quotes for two very different scopes.
The cost of skipping this step properly is not visible for a while, which is exactly what makes it dangerous. Water that gets past grout and into an unprotected subfloor shows up later as soft flooring, a musty smell, or in the worst cases rot in the framing below, and the eventual repair dwarfs what the membrane would have cost. Our mold remediation cost file and water damage restoration cost file both describe what that deferred cost looks like once it finally surfaces.
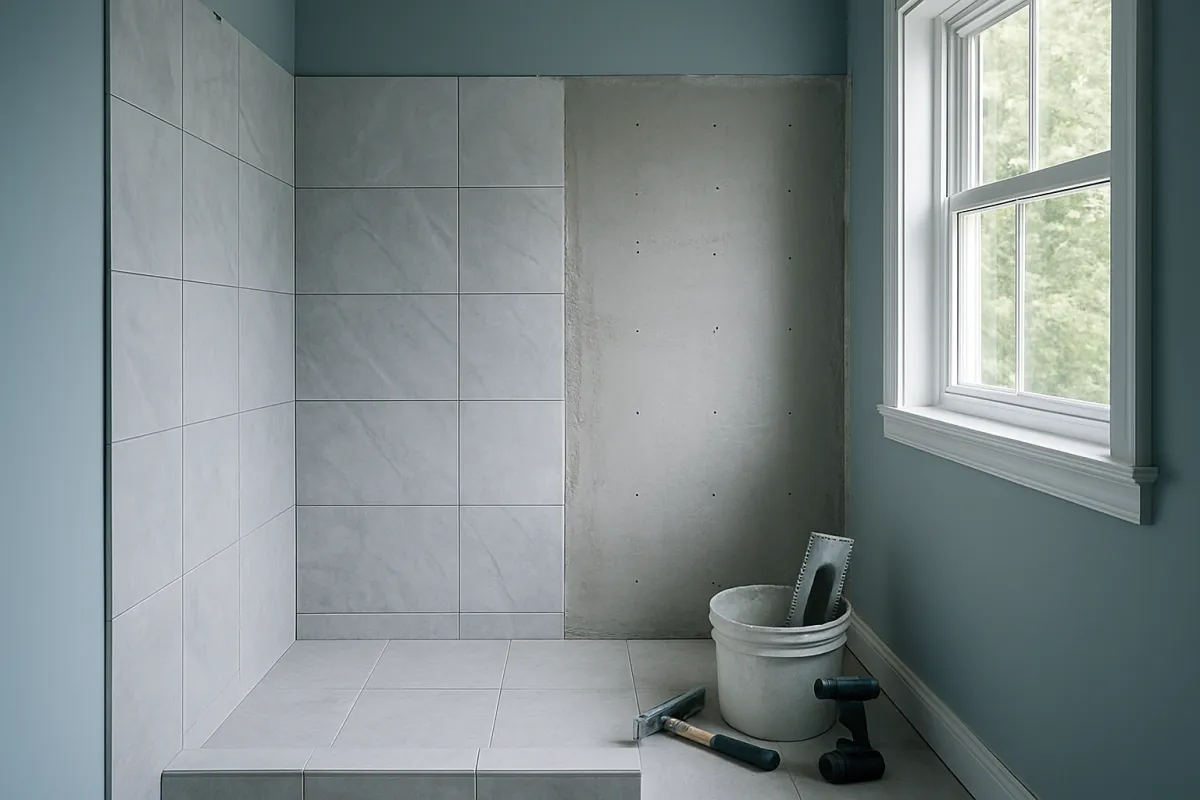
Pattern and layout, what diagonal and herringbone add
A straight grid layout, tile set parallel to the walls, is the fastest and cheapest pattern to install, and it is the implicit assumption behind the baseline ranges above. Moving to a diagonal layout, a herringbone pattern, or a mixed-size pattern increases labor because more cuts are needed, more pieces require precise angles, and the layout has to be planned carefully from the room’s center outward to avoid an awkward sliver at the edges.
Illustratively, a diagonal layout commonly adds 10 to 15 percent to labor, and herringbone or more intricate patterns commonly add 20 to 30 percent, on top of the baseline installed price. The tile and setting materials cost the same regardless of pattern; the added expense is entirely the skilled time it takes to execute the layout correctly.
Accent bands, a contrasting border, or a mosaic inset within a larger field tile add their own labor premium on top of pattern complexity, since they require the installer to plan multiple materials into one coherent layout. None of these are purely decorative upgrades with no cost consequence; each one is buying additional skilled labor time, and it is worth knowing that before falling in love with a showroom display.
Grout, sealing and trim
Grout is typically included in the per-square-foot installed figures above as part of standard labor, but the type of grout chosen is worth a specific conversation. Standard sanded or unsanded grout is the baseline; an epoxy grout costs more, illustratively a few dollars more per square foot, and resists staining and cracking better over time, which matters more in a kitchen or a heavily used bathroom than in a low-traffic powder room.
Sealing applies mainly to porous grout lines and to natural stone, and it is a maintenance step as much as an installation one, commonly needing to be reapplied every year or two depending on traffic and exposure. A quote should state whether initial sealing is included and what the ongoing maintenance expectation is, since an unsealed grout line in a wet area is an invitation for staining and, eventually, mold at the joint.
Trim pieces, meaning bullnose edge tile, metal or plastic edge profiles like Schluter strips, and transition strips where tile meets another flooring material, are small individually but add up across a room’s perimeter. Illustratively, edge trim commonly adds a modest per-linear-foot cost around the room’s exposed edges, and it is worth confirming it is in the quote rather than assumed, since a tile floor with a raw, unfinished edge at a doorway looks unfinished because it is.
Radiant floor heat under tile
Tile is a poor insulator and feels cold underfoot, which is why electric radiant floor heating mats are a popular add-on specifically under tile, most often in a bathroom. Illustratively, a radiant heat mat system, including the mat, the thermostat and the added installation labor, commonly adds $8 to $15 per square foot on top of the tile installation itself.
The mat is installed in the thin-set layer beneath the tile and connected to a dedicated thermostat, which typically requires its own electrical circuit, a detail worth folding into the budget and worth coordinating with an electrician. Our electrician cost file covers what a new dedicated circuit commonly runs, which is a separate line from the flooring quote itself.
Radiant heat under tile is a comfort upgrade rather than a whole-room heating system in most residential installations, warming the floor surface rather than replacing the home’s primary heat source. It is most commonly added in a primary bathroom where the floor is tile anyway and the comfort payoff is felt daily, and least commonly justified in a low-traffic space like a laundry room.
Tile size and what it changes about labor
Tile size changes labor cost in two directions at once, which is why the cheapest tile to install tends to sit in the middle of the size range rather than at either extreme. Small mosaic tile, commonly sold on mesh sheets, looks simple but is genuinely labor intensive, because far more individual pieces and far more grout lines have to be set, aligned and grouted across the same square footage.
Large-format tile, 24 inches and up, is labor intensive for the opposite reason: fewer pieces, but each one is heavier, harder to handle without cracking, and far less forgiving of an uneven substrate, which is why large-format jobs commonly need a leveling-clip system and more substrate prep. Both ends of the size spectrum cost more in labor than the middle, even though the reasons are nearly opposite.
Mid-size tile, roughly 12 by 12 inches to 18 by 18 inches, is the practical sweet spot: it covers area efficiently, tolerates minor substrate imperfections better than large-format tile, and does not multiply grout lines and cut pieces the way mosaic does. If labor cost is the primary concern and the style works for the room, this is the size range that keeps the installed price nearest the bottom of its band.
Where a typical tile flooring budget goes
The chart below splits an illustrative 200 square foot kitchen floor in mid-range porcelain, on an existing plywood subfloor with backer board added, no old tile to remove, and a dry room so no wet-area membrane applies.
Illustrative budget split, 200 sq ft porcelain kitchen floor
Plywood subfloor with backer board, no removal, dry room, roughly $2,900 total.
Shares move with the job: a wet-area membrane adds its own band, old-tile removal adds another, and a diagonal or herringbone pattern enlarges the labor share specifically.
Two readings matter most. First, labor and prep together, meaning setting labor plus backer board, run close to half of this budget, which is why a quote focused only on the price per box of tile is missing most of the real cost. Second, the pieces that are easy to skip when budgeting, prep and trim, are a meaningful share even on a straightforward dry-room job, and they grow further the moment a wet area or old-tile removal enters the picture.
Cost by room size and type
Illustrative installed total by common room
Mid-range porcelain, plywood subfloor with backer board; bathroom figures include a wet-area membrane for the shower floor portion.
Illustrative totals only. Old-flooring removal, slab leveling, radiant heat and pattern complexity each add on top of these figures.
Small rooms carry a real fixed-cost penalty worth planning for: a 20 square foot powder room is not simply a tenth the price of a 200 square foot kitchen, because layout, cutting setup and cleanup take meaningful time regardless of how little area they cover. That is why the per-square-foot cost on a small room often looks higher than the headline ranges earlier in this file, even using the identical tile and the identical installer.
DIY versus hiring a tile setter
A small, simple, dry-room area with a straightforward grid layout, a powder room floor being the classic example, is within reach of a careful do-it-yourselfer who is willing to dry-lay the pattern first, make test cuts, and accept that the first attempt at tile work is rarely the installer’s best. The tools required, a wet saw rental, notched trowels, spacers and a few hand tools, are a modest cost against the labor saved.
A wet-area shower floor with a membrane, a slope to a drain, and a curb is a different proposition. Getting the slope wrong means water pools instead of draining, and that mistake is invisible until the first shower, by which point it is set in cured mortar. Large open floors, diagonal or herringbone patterns, and large-format tile all carry their own skill requirements that make professional installation the more reliable choice for most homeowners.
Our walkthrough on deciding between DIY and hiring a pro frames that trade-off more generally, and the honest summary for tile specifically is that the cost of a mistake rises sharply with the complexity of the layout and the consequences of a waterproofing error, which is exactly where the DIY math stops favoring doing it yourself.
How to read a tile installation quote
A quote worth comparing states the tile by name, size and finish, not just “ceramic tile” or “porcelain tile” as a generic line, since price and quality both vary enormously within either category. It should separately state the subfloor condition and what prep it assumes, whether backer board, self-leveling compound, or both are included, and whether that assumption was based on actually seeing your subfloor or on a general estimate.
It should name the pattern, since a straight-lay price and a herringbone price for the identical tile are not the same quote. It should state explicitly whether a wet-area waterproofing membrane is included for any shower or tub surround, and whether old flooring removal, including any old mortar bed, is part of the number or priced separately. Our walkthrough on reading a contractor estimate covers the general version of this skill, and tile is a trade where the line items genuinely do predict the outcome.
Common mistakes that blow a tile budget
The most expensive mistake is skipping or underspecifying waterproofing in a wet area, because the failure is invisible until water damage shows up months or years later, at which point the repair costs far more than the membrane would have. The second is assuming an existing subfloor is flat and rigid enough without actually checking, which shows up later as cracked grout or, on large-format tile, visible lippage between tiles.
The third is choosing a pattern or tile size for its look without pricing the labor premium that comes with it, then being surprised when the quote is well above the per-square-foot figure quoted for a basic grid layout of the same tile. The fourth is treating old-tile removal as a minor detail rather than its own scope, particularly when the old mortar bed has to come up along with the visible tile.
The fifth, and the one that is easiest to avoid, is not asking what happens if the subfloor turns out to need more correction than expected once the old flooring is out. A written allowance for that contingency, agreed before work starts, is far cheaper than an argument about scope creep after the old floor is already gone.
A worked example, a 200 sq ft kitchen floor in porcelain
Take a common case: a 200 square foot kitchen floor, currently covered in sheet vinyl over a plywood subfloor, being replaced with mid-range glazed porcelain in a straight grid pattern, no radiant heat, no wet area.
Removing the old vinyl. At an illustrative $1.25 per square foot for a straightforward vinyl pull-up, this comes to $250.
Backer board and subfloor prep. Cement backer board screwed and taped across the floor, at an illustrative $2 per square foot, comes to $400.
Tile material. Mid-range porcelain at an illustrative $6 per square foot for a 200 square foot area, with a modest overage for cuts and waste, comes to $1,230.
Setting labor, grout and trim. Layout, cutting, setting, grouting and edge trim at an illustrative $5 per square foot comes to $1,000.
Those four lines total $2,880, close to the $2,900 figure used in the budget chart above. Add a wet-area membrane if any part of the space bordered a shower or a sunken entry, add a pattern premium for anything beyond a straight grid, and the total moves from there. Run your own square footage, tile type, removal need and room type through the estimator and the same worked example rebuilds itself around your kitchen.
Tile versus LVP versus hardwood, how to choose
Tile’s advantages are real and specific: it is the most water-tolerant common flooring, it holds up to heavy foot traffic indefinitely with proper care, and it will not scratch, dent or stain the way wood and some vinyls can. Its disadvantages are equally specific: it is hard and cold underfoot without radiant heat, grout lines need periodic attention, and a dropped glass or plate is far more likely to break on tile than on a more forgiving surface.
Luxury vinyl plank, priced in our LVP flooring cost file, trades some of tile’s water resistance and longevity for a warmer, more forgiving surface and a noticeably lower installed cost, which is why it has become the default recommendation for a basement or a budget-driven whole-home refresh. Hardwood, priced in our hardwood floor cost file, offers warmth and long-term refinishing potential that neither tile nor vinyl can match, but it is a poor choice anywhere water is a regular visitor.
The practical rule most installers use is to let water exposure decide the room first, then let budget and style decide the material within whichever category fits. A bathroom or a mudroom points toward tile or a fully waterproof vinyl; a bedroom or a living room opens up hardwood, LVP or tile equally, and from there it genuinely comes down to feel, maintenance tolerance and budget.
Regional and seasonal price swings
Labor rates for skilled tile setters vary by region the way they do for every specialty trade, and tile setting is skilled, licensed-adjacent work in most markets rather than a generalist handyman task, which keeps the labor share of the total meaningfully high everywhere. Material costs are comparatively more uniform nationally, since most ceramic and porcelain tile ships through the same handful of large distributors regardless of region.
Seasonality affects tile installation less than it affects exterior trades, since the work happens entirely indoors and is not weather dependent. The more relevant scheduling factor is renovation season generally: spring and summer are the busiest months for interior remodeling work across the board, which can mean longer lead times for a skilled installer rather than a different price for the same job.
Specialty and imported tile carries its own lead-time risk independent of season, since a specific finish or a limited run can take weeks to arrive regardless of when you order it. If a project is on a deadline, confirming material lead time before committing to a style is worth the extra question, particularly for anything described as a limited or seasonal collection.
The bottom line
Tile flooring cost is a per-square-foot material and labor figure multiplied by your room, with the room underneath the tile deciding more of the final total than most homeowners expect going in. Illustratively, installed ceramic runs $7 to $14 per square foot, porcelain $8 to $18, and large-format porcelain $15 to $25, while backer board, old-flooring removal, wet-area waterproofing and pattern complexity each add their own line on top.
Price the job in the order an installer actually builds it: tile type first, subfloor condition and prep second, wet-area waterproofing third if it applies, then pattern and tile size, which move labor more than most people expect. Ask for the tile named specifically, the subfloor assumption stated, the pattern priced explicitly, and any wet-area membrane confirmed in writing rather than assumed. A tile floor set on a properly prepped, properly waterproofed substrate is one of the most durable surfaces in the house; the same tile set in a hurry over an unprepared floor is a cracked-grout problem waiting for its first cold winter.
This cost file describes how tile flooring projects are generally scoped and priced, not what your particular room requires, and it is not a substitute for an in-person measurement and a written estimate from a licensed, insured installer. Every dollar figure and percentage share above is illustration only: your real cost moves with your region’s labor rates, your subfloor’s actual condition, tile availability and the pattern and size you choose. A wet-area floor without proper waterproofing risks water damage to the subfloor and framing beneath it, so confirm that scope specifically before work begins.
Frequently asked questions
How much does tile flooring cost per square foot?
Installed ceramic tile commonly runs an illustrative $7 to $14 per square foot, and installed porcelain commonly runs $8 to $18 per square foot, each including the tile, the setting materials, and standard labor on a flat, prepared subfloor. Large-format or polished porcelain pushes that higher, illustratively $15 to $25 per square foot, because bigger tiles need a flatter substrate and more careful handling. Subfloor prep, waterproofing in a wet area and removing old flooring are separate lines on top of those ranges, not included in them.
What's the real difference between ceramic and porcelain tile cost?
Porcelain is denser and less porous than ceramic, which is why it costs more both as a material and to install, illustratively $1 to $4 more per square foot installed than a comparable ceramic tile. The density that raises the price is also what makes porcelain the standard choice for a floor that sees water or heavy foot traffic, while ceramic remains a perfectly sound, cheaper choice for most dry living spaces. Neither is wrong; they answer slightly different questions about where the floor sits in the house.
Do I need a waterproof membrane under tile in a bathroom?
For a shower floor or a wet-area installation, yes, essentially always, and skipping it is one of the more expensive mistakes a tile job can make. A bonded waterproof membrane commonly adds an illustrative $2 to $5 per square foot on top of ordinary installation, and it is what keeps water that gets past the grout from reaching the subfloor and framing underneath. For an ordinary bathroom floor outside the shower itself, a moisture-resistant underlayment is the common standard rather than a full membrane, which is a lighter, cheaper step.
How much does it cost to remove old flooring before tiling?
Removing and hauling away an existing floor commonly runs an illustrative $1 to $3 per square foot, depending on what is coming out. Pulling up old sheet vinyl or carpet is on the cheaper end, while breaking out old tile and the thin-set or mortar bed underneath it is on the more expensive end, because that work is slower and harder on tools. If old tile is coming out, ask specifically whether the quote includes the removal of the mortar bed beneath it, not just the visible tile.
Can I install tile flooring myself?
A small, simple area with a straightforward layout, like a powder room floor, is within reach of a patient do-it-yourselfer with the right tools and some practice cuts first. A wet-area shower floor with a membrane and a drain, a large open kitchen floor, or any layout with diagonal, herringbone or mixed-size patterns is where professional experience earns its keep, because tile does not forgive a mistake the way some other flooring does once thin-set has cured. A crooked first row or a poorly sloped shower pan is expensive to discover after the fact.
How long does it take to install a tile floor?
A straightforward bathroom floor, illustratively 40 to 60 square feet, commonly takes one to two working days including layout, setting and grouting, plus time for the thin-set and grout to cure before the room is back in use. A larger kitchen or open-concept floor, illustratively 150 to 300 square feet, commonly takes three to five working days. Large-format tile, intricate patterns, and extensive subfloor prep all extend those timelines, and grout and sealer cure times mean the room is typically unusable for a day or two after the visible work wraps up.
What size tile is cheapest to install?
Mid-size tile, roughly the 12 by 12 inch to 18 by 18 inch range, is usually the sweet spot for labor cost, because it covers ground efficiently without demanding the extra-flat substrate and leveling systems that large-format tile requires. Small mosaic tile looks different but is actually more labor intensive per square foot, since far more pieces and far more grout lines have to be set by hand. Large-format tile, 24 inches and up, needs more substrate prep and more careful handling, which is why it tends to sit at the top of the installed price range rather than the bottom.
Does tile flooring add value to a home?
Tile in a kitchen or bathroom is generally viewed as a durable, water-resistant, expected finish in those specific rooms, which supports resale appeal more than it directly adds a dollar-for-dollar return. Tile in a main living space is more of a style preference than an expected upgrade in most markets, and its cold, hard surface is a trade-off some buyers weigh against hardwood or vinyl plank. Our home improvement ROI cost file covers how renovation spending and resale value generally relate, which is the more useful lens than treating any single floor material as a guaranteed return.