What's on this page
- Before you start
- What interior wall waterproofing can and cannot fix
- Step 1: Find where the water is actually coming from
- Step 2: Fix the grading and downspouts first
- Step 3: Clear the wall and let it dry completely
- Step 4: Clean and prep the crack or joint
- Step 5: Inject or seal an active crack
- Step 6: Patch larger gaps with hydraulic cement
- Step 7: Apply a masonry waterproofing coating
- Step 8: Test the repair before you close up the wall
- Step 9: Know when the wall needs more than a coating
- A worked example: twelve feet of wall with two cracks
- Where this fits against the professional ladder
- Common mistakes when waterproofing a basement wall yourself
- Troubleshooting: when the DIY fix does not hold
- The basement wall waterproofing checklist
- The bottom line
Short answer: Waterproofing a basement wall yourself works well for a hairline to moderate crack or a damp patch, and it goes in order: fix the grading and downspouts outside first, let the wall dry fully, inject or seal the active crack, patch larger gaps with hydraulic cement, then finish with a masonry waterproofing coating and test it with a hose before you close the wall back up. Water arriving under real pressure, or a wall that is bowing or displaced, is a different job that belongs with a professional.
A wet patch on a basement wall is one of the few home problems where the fix is genuinely within reach of a careful homeowner, and also one of the easiest to get wrong by doing the steps out of order. Painting a sealant over an active crack, or coating a wall that is still damp from last week’s rain, are the two most common reasons a weekend project fails and the water comes back within a month. The steps below are not complicated on their own; the discipline is running them in the sequence that actually works, outside-in, diagnosis before product, dry before coat.
This walkthrough covers the hands-on repair: diagnosing the source, sealing the crack, patching the gaps, and coating the wall. For the separate question of what each method costs by the linear foot, see our basement waterproofing cost file, and for the structural side of wall problems rather than the drainage side, see our foundation repair cost file. If your situation turns out to need an interior drain tile and sump instead of a wall repair, our sump pump installation cost file covers that escalation. Run your own section through the waterproofing companion as you read to see an illustrative materials cost and a readiness score built from your actual wall.
Key takeaways
- Work outside-in and in order: grading and downspouts first, then a fully dry wall, then crack sealing, then hydraulic cement, then a masonry coating as the finish, not the fix.
- Coating a wall that is still wet or sealing over an active crack without injecting it first are the two most common reasons a DIY waterproofing job fails within weeks.
- Hydraulic cement fills holes and gaps against active water; it is not a substitute for crack injection on a thin, moving crack, and it is not a whole-wall coating.
- A crack wider than about an eighth of an inch, a bowing or stepping wall, or water arriving under real pressure are signals to call a professional rather than keep coating.
- Test the repair with a hose before you close the wall back up with drywall, insulation, or framing. A wall that looks dry on a sunny day has not actually been tested.
Before you start
Gather what you need before you touch the wall, because interior waterproofing is a sequence with waiting built into it, and having everything on hand turns that waiting into the only slow part of the job.
- A wire brush, a cold chisel, and a shop vacuum. You will clean and open the crack or gap before you seal anything, and loose, crumbling concrete has to come off first or nothing bonds.
- An epoxy or polyurethane crack injection kit, sized to the length of the crack, if you are treating an active crack rather than just a damp wall face. Polyurethane is the more forgiving choice against moving water; epoxy bonds more rigidly and suits a structural-style seal on a dry crack.
- Hydraulic cement, for any hole, honeycombed patch, or the wall-to-floor joint. A single small tub covers a surprising amount of spot work.
- A cementitious or masonry waterproofing coating and a stiff masonry brush, for the wall face finish once everything underneath is sealed and dry.
- A moisture meter, or at minimum patience: taping a square of clear plastic to the wall overnight and checking for condensation underneath is a workable low-cost substitute.
- Basic safety gear: gloves, eye protection, and a dust mask for chiseling and brushing, since concrete dust and cement products are not pleasant to breathe or touch for long stretches.
- An illustrative materials budget for your run of wall, which the waterproofing companion on this page will estimate from the linear feet you enter, so you are not guessing at the hardware store.
Time and difficulty: budget a few hours of hands-on work for a single crack or short section, spread across a day or two because of cure and dry times. None of the individual steps are technically hard; the discipline is sequencing and patience, especially the drying step, which is the one most DIYers rush.
What interior wall waterproofing can and cannot fix
Before the steps, it helps to see where the water is actually coming from, because the fix only works when it matches the real cause. The chart below is an illustrative breakdown of what commonly explains a wet basement wall, based on the pattern described across our own cost research: roof and surface water concentrated against the wall by poor grading or a short downspout is the single biggest cause, followed by window wells that were never properly drained, then cracks and joints letting in water under real pressure from saturated soil, with everything else, including condensation and plumbing, a smaller remainder.
What commonly explains a wet basement wall
Illustrative share of causes behind a typical wet-wall complaint.
The shares are illustrative. The pattern is fixed: the biggest cause is also the cheapest to fix, which is exactly why this walkthrough starts outside before it touches the crack.
That ordering is also why the steps below start with grading and downspouts rather than the crack itself. A coating and injection job done perfectly on a wall that is still being soaked from a bad downspout will hold for a while and then fail, because the actual cause was never addressed. Fix the cheap, outside cause first, and a surprising number of walls need little more than that.
Step 1: Find where the water is actually coming from
Before any product touches the wall, figure out what you are actually looking at. Watch the wall during and right after a rain if you can, or run a hose along the foundation outside for twenty minutes and watch the inside. Note exactly where the water appears: along a visible crack, through the wall-to-floor joint, seeping through the porous concrete itself, or pooling under a window well. The location tells you which of the steps below actually applies, and skipping this step is how homeowners end up coating a wall face when the real entry point was a window well six feet away.
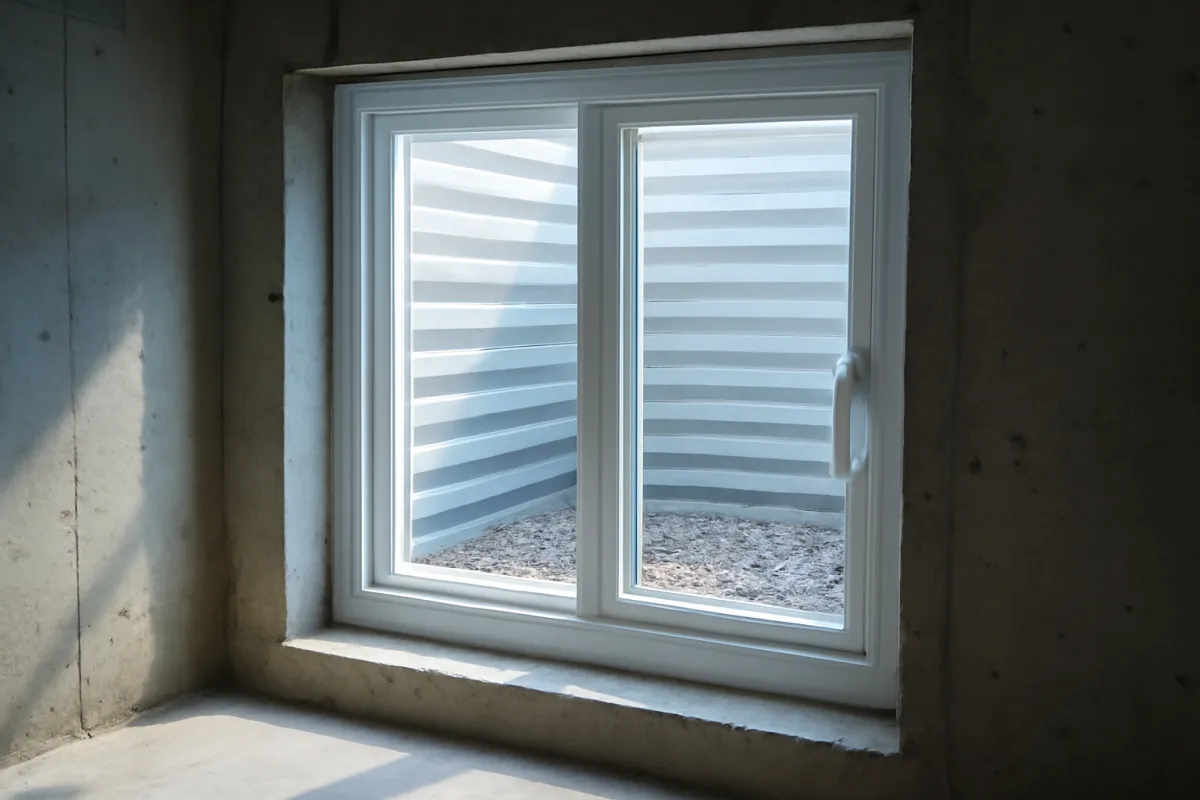
Also note the behavior, not just the location. Water that appears steadily during a storm and stops within a day of dry weather points toward surface water and grading. Water that keeps weeping for days after the rain stops, or that was present even in a dry stretch, points more toward groundwater and hydrostatic pressure, which is a different conversation covered in Step 9. Mark the spot, take a photo for reference, and move outside before you touch anything on the interior face.
Step 2: Fix the grading and downspouts first
With the entry point identified, walk the exterior before you do anything inside. Check that the soil slopes away from the foundation for at least the first several feet, and that downspouts discharge well away from the wall rather than dumping water right at the base. This is the step homeowners skip because it feels disconnected from the crack they are worried about, and it is also the step most likely to make the rest of the job unnecessary, since grading and downspout correction resolves a large share of wet-wall complaints on its own.
Extending a downspout, regrading a low spot with a few wheelbarrows of soil, and clearing a gutter that has been dumping water at one corner are all inexpensive, same-afternoon fixes compared to anything that follows. If you are not sure whether exterior correction alone will solve your situation, our basement waterproofing cost file prices this step against the more involved ones so you can see the gap. Give the exterior fix a few rain events to prove itself before assuming the wall itself needs a more invasive repair; some walls dry out and stay dry the moment the water stops being aimed at them.
Step 3: Clear the wall and let it dry completely
Before sealing anything, the wall needs to actually be dry, not just dry-looking. Clear anything blocking the section you are treating, including stored boxes, furniture, or a finished wall if you are working behind drywall, since trapped moisture behind a finished surface is both a hidden cause and a reason to open the wall before, not after, you repair it. If the area has been actively wet, running a fan and a dehumidifier for a few days is a realistic timeline, and testing with a moisture meter or the taped-plastic method described earlier confirms it before you move on.
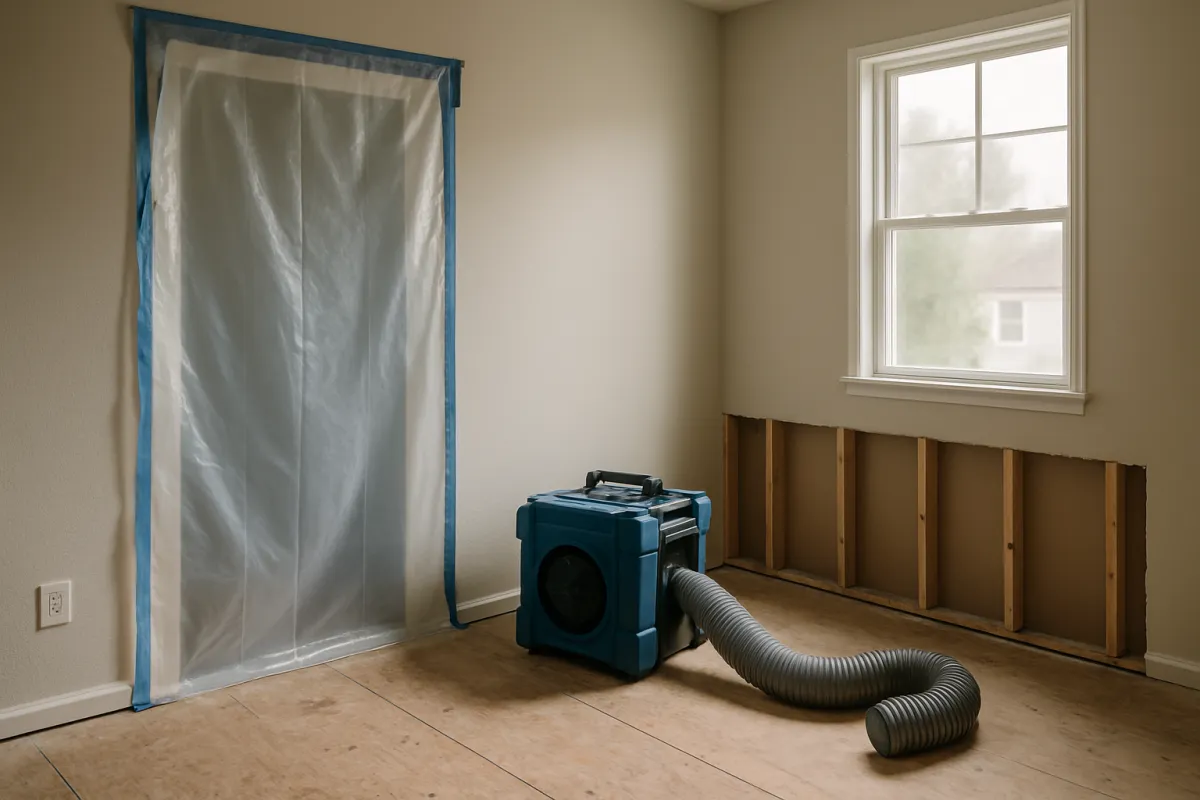
This is also the point to check for mold if the wall has been wet for more than a day or two behind a finish, since mold on framing or drywall is a different job from waterproofing and needs its own remediation first. Our mold remediation cost file covers that process if you find it. Do not skip the drying step to save time: every product in the steps that follow is rated to bond to a dry surface, and applying any of them over real moisture is the single most common reason the whole project has to be redone.
Step 4: Clean and prep the crack or joint
Once the wall is dry, prep the area you identified in Step 1. Use the wire brush to remove loose material, efflorescence, and any old paint or sealant along the crack or joint, then use the chisel to slightly widen and undercut the crack if you are patching it with hydraulic cement, which gives the cement something to grip rather than a smooth surface it can pop off of later. Vacuum the dust out thoroughly, because dust left in the crack is one more thing standing between the sealant and the concrete it needs to bond to.
For a crack you are planning to inject rather than patch, follow the specific prep steps on your injection kit, which commonly involve surface-sealing the crack face with a paste so the injected resin stays inside the crack rather than leaking back out the front while it cures. Read the kit instructions fully before you start, since injection products vary more between brands than hydraulic cement does, and the manufacturer’s specific working time and mix ratio matter more here than general guidance can cover.
Step 5: Inject or seal an active crack
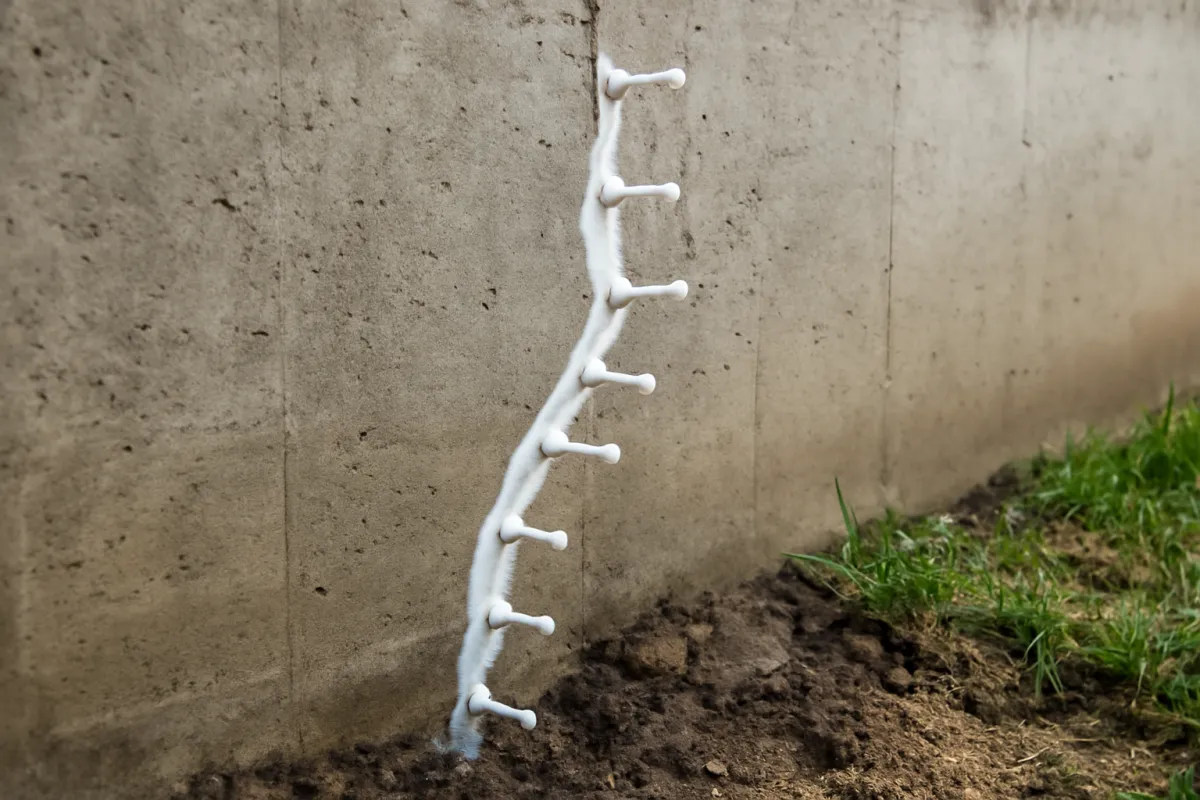
This is the step that actually stops water moving through a crack rather than just covering it. For a genuinely active or hairline crack in a poured wall, an epoxy or polyurethane injection kit forces sealant into the crack from port to port along its length, filling it from the inside rather than bridging it from the surface, which is why injection holds up against moving water in a way a surface sealant alone does not. Work from the bottom port upward if your kit is gravity-fed, or follow the pump sequence specified for a cartridge system, and give the resin the full cure time stated on the product before you consider the crack sealed.
If the crack is dry and mostly cosmetic, a simpler surface sealant may be enough, but when in doubt, treat any crack that has shown water as an active crack and injection as the right tool. Do not paint a masonry coating directly over an unsealed active crack and call it done; that is the single most common corner cut on this project, and it is the one that tends to show up again at the next heavy rain.
Step 6: Patch larger gaps with hydraulic cement
Hydraulic cement is the tool for anything injection is not built for: holes, honeycombed or crumbly concrete, tie-rod holes left from the original pour, and the joint where the wall meets the floor, which is a common entry point on block and poured walls alike. Mix only what you can use in the next few minutes, since hydraulic cement sets fast by design, and press it firmly into the prepped gap with a gloved hand or a putty knife, holding pressure against any active trickle until the cement grabs, which is usually well under a minute.
Work in small sections rather than mixing a large batch and racing the clock. For the wall-to-floor joint specifically, a continuous bead along the full run gives better results than patching isolated wet spots, since a joint that leaks in one place is often weeping along more of its length than is immediately visible. Let every patch cure fully, typically a day, before moving on to coating.
Step 7: Apply a masonry waterproofing coating
With cracks sealed and gaps patched, the coating is the finish layer across the wall face, reducing general dampness and the musty smell that comes with a wall that is not under real water pressure. Apply a cementitious or masonry waterproofing product with a stiff masonry brush, working it into the texture of the concrete or block rather than just laying paint on top, and plan on two coats for real coverage, following the dry-between-coats time on the product label. Cover the full section you are treating, not just the area around the old crack, since the coating’s job is to reduce moisture vapor across the whole wall face.
Treat this step as the finish on a working repair, not a repair on its own. A coating applied to an unsealed active crack or an undried wall commonly relocates the water rather than stopping it, often sending it sideways to the nearest untreated joint. If you are coating an otherwise sound wall with no active crack, purely to reduce general dampness, the same product and process apply, you are simply starting at this step instead of Step 5.
Step 8: Test the repair before you close up the wall
Before you put drywall, insulation, or framing back against the wall, prove the repair rather than assuming it. Run a garden hose along the exterior grade at the treated section for twenty to thirty minutes, aimed the way rain would actually hit that part of the foundation, and watch the inside the whole time. A repair that stays dry under a direct hose test is in a much stronger position than one that has only been judged by a dry day with no rain in the forecast.
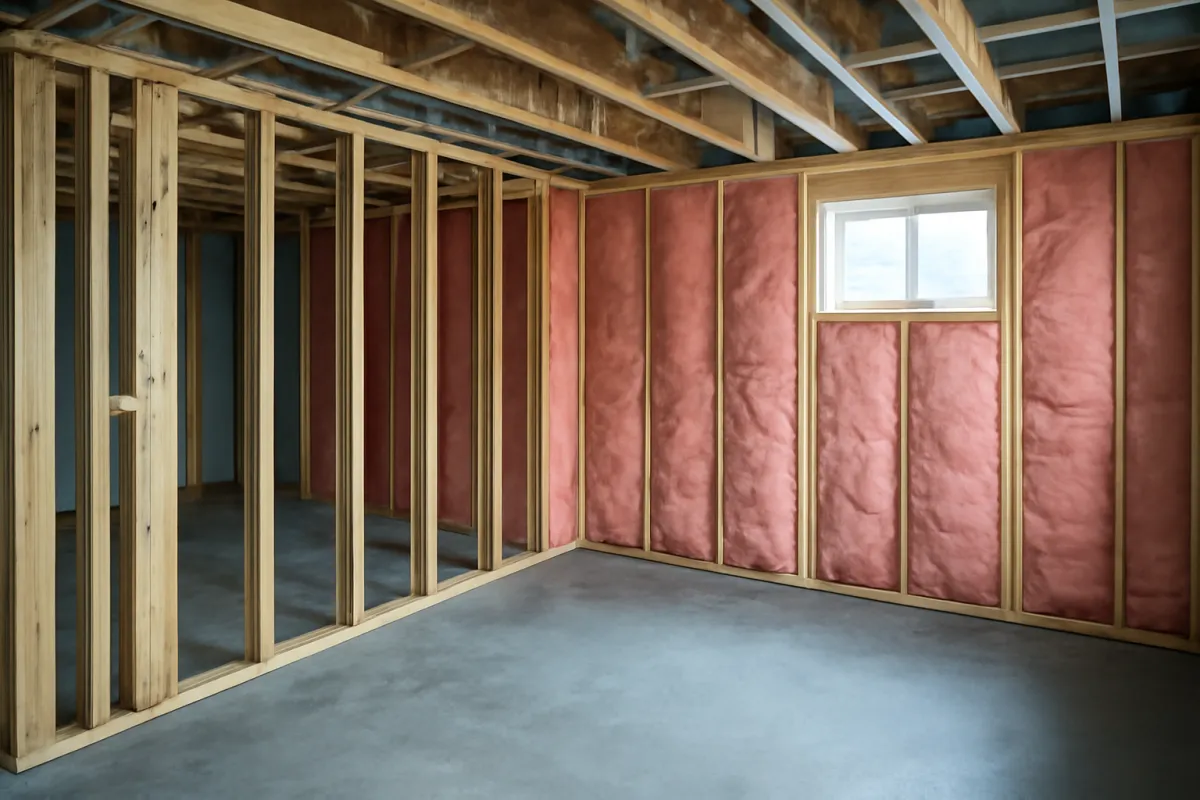
If the test turns up a new or returning damp spot, go back to Step 1 and reassess rather than assuming the whole job failed. Sometimes the test reveals a second, smaller source nearby that the original diagnosis missed, and treating that spot specifically is faster than redoing the entire run. Only once the section has stayed dry through a real test, ideally confirmed again after the next natural heavy rain, should you close the wall back up with framing, insulation, or drywall.
Step 9: Know when the wall needs more than a coating
Some walls are telling you, honestly, that this is not a coating-and-injection job. Four signals say so clearly. A crack wider than roughly an eighth of an inch, or one that is displaced, stepped, or still growing, points toward a structural question that belongs with our foundation repair cost file and likely a professional assessment before any sealant goes near it. A wall that is visibly bowing or leaning is the same category, structural rather than a simple leak.
Water arriving under genuine pressure, meaning it shows up fast, in volume, or keeps weeping for days after the rain stops rather than seeping and tapering off, usually means the soil outside is saturated enough that an interior drain tile and sump, or exterior excavation, is the actual fix rather than another coat. Our sump pump installation cost file covers that escalation in detail. And if you have run every step in this walkthrough correctly and the wall is still wet after the next real storm, that is not a DIY failure, it is new information that the original diagnosis was incomplete, and it is the point to bring in a professional rather than repeat the same steps a second time.
A worked example: twelve feet of wall with two cracks
Walk through one illustrative wall section to see how the steps connect. A homeowner finds dampness along a twelve-foot run of basement wall after a heavy rain, with two hairline cracks visible, neither wider than a sixteenth of an inch. In Step 1, they trace the water to the two crack locations rather than a window well, and in Step 2, they notice a downspout discharging right at the corner nearest the wetter crack and extend it six feet away from the house.
In Step 3, they run a dehumidifier in the area for two days and confirm with a taped-plastic test that the wall is genuinely dry before touching it. In Step 4 and Step 5, they clean both cracks and inject them with a polyurethane kit, working bottom to top on each. In Step 6, a small honeycombed patch near the floor joint gets a hydraulic cement fill. In Step 7, the full twelve-foot section gets two coats of a masonry waterproofing coating. In Step 8, a twenty-minute hose test along the exterior grade the following weekend shows no new dampness, and the section is confirmed dry again after the next natural rain two weeks later before the homeowner reframes the wall.
On the waterproofing companion on this page, entering twelve feet with both cracks hairline, a wall that has been dried for more than forty-eight hours, and an injection kit on hand lands the readiness score near the top of the illustrative scale, with an illustrative materials cost in the range the companion computes for that run. Every figure here is illustrative, but the sequence is the lesson: diagnosis, exterior fix, dry time, injection, patching, coating, then a real test, in that order.
Where this fits against the professional ladder
Seen as a whole, the steps in this walkthrough sit at the inexpensive, DIY-appropriate end of a wider ladder of basement waterproofing options that runs from grading corrections through interior drain tile and sump systems to full exterior excavation. The chart below is an illustrative share of how a complete DIY wall job, start to finish, breaks down by where the time and material actually go.
How a complete DIY wall-waterproofing job breaks down
Illustrative share of effort across a full run of the steps above, summing to 100.
The shares are illustrative. Note that drying and testing together claim a fifth of the whole job; rushing either is the most common reason a DIY repair does not hold.
If your wall falls outside what this breakdown covers, meaning the crack is wide or displaced, the water arrives under real pressure, or the exterior cause cannot be corrected because of a driveway or structure against the wall, the next rung on the ladder is an interior drain tile and sump system, priced in our basement waterproofing cost file, or exterior excavation, covered in our companion walkthrough on waterproofing a basement from the outside.
Common mistakes when waterproofing a basement wall yourself
Most DIY waterproofing failures trace back to the same handful of shortcuts, each one a step above being skipped or rushed rather than done wrong technically.
- Coating before the wall is actually dry. Surface-dry is not the same as dry. A coating applied over trapped moisture commonly fails to bond or traps the water behind it, sending it somewhere new.
- Skipping injection and going straight to coating. A masonry coating is a finish, not a fix for an active crack. Seal the crack first with injection or hydraulic cement, then coat.
- Ignoring the exterior cause. Fixing the crack without correcting a downspout dumping water at the same spot means the wall is fighting the same source it was fighting before, just with a fresh coat of sealant on top.
- Mixing too much hydraulic cement at once. It sets fast by design. A batch that sets before you can place it is wasted, and rushing the placement to beat the clock leads to a poor bond.
- Closing the wall without testing it. Framing and drywall go back up before anyone has actually watched the repair hold under a real hose test or a real storm, which means the first real test happens with the wall already closed.
- Treating a wide or displaced crack like a routine leak. A crack over about an eighth of an inch, or one that is moving, is a structural signal. Sealing it cosmetically without an assessment can mask a bigger problem rather than solve it.
Troubleshooting: when the DIY fix does not hold
Even a careful job can run into a snag. Here is how to work through the common ones.
What if the crack keeps weeping after injection? A second injection pass, following the product’s instructions for a repeat application, resolves many cases, especially on a longer crack where one section cured before another was fully filled. If weeping continues after a second attempt, treat it as a signal that the water may be arriving under more pressure than the product is rated for, and move toward the escalation described in Step 9.
What if the coating is peeling or bubbling? This is almost always a moisture problem underneath, not a product defect. Moisture trapped behind the coating pushes it off the wall as it tries to escape. Scrape the affected area back to bare concrete, confirm the wall is genuinely dry this time with a moisture meter, and reapply, giving extra attention to cure time between coats.
What if the hose test reveals a second, smaller leak nearby? Treat it as useful information, not a failed job. Diagnose that specific spot using Step 1’s method, prep and seal it the same way, and retest. Finding a second source during testing is exactly why the test exists, and it is far better to find it now than after the wall is closed.
What if I am not sure whether my crack counts as hairline or structural? When in doubt, measure it against a dime, which is roughly an eighth of an inch thick, as a rough field reference, and watch it over several weeks for any visible change in width or step. A crack that is stable and narrower than that reference is commonly a reasonable DIY candidate; one that is wider, growing, or accompanied by a sticking door or a sloping floor nearby warrants a professional look before you seal anything.
What if the wall is fine but the room still smells musty? General humidity rather than an active leak is a common cause, and a dehumidifier running continuously in the space, combined with the masonry coating described in Step 7, is usually enough. If the smell persists after both, revisit Step 3 for a mold check behind any finished surfaces.
The basement wall waterproofing checklist
Save this and work through it in order on your own wall.
- Source identified, from where the water actually enters, not just where it ends up pooling.
- Grading and downspouts corrected around the affected section before anything is sealed.
- Wall confirmed dry, not just dry-looking, before any product touches it.
- Crack and joints cleaned and prepped, loose material removed, dust vacuumed out.
- Active crack injected or sealed, with full cure time observed before moving on.
- Larger gaps patched with hydraulic cement, including the wall-to-floor joint if it showed any sign of weeping.
- Masonry coating applied in two coats across the full treated section, not just around the old crack.
- Repair tested with a hose, and ideally again after a natural heavy rain, before the wall is closed back up.
- Escalation signals checked: a wide or displaced crack, a bowing wall, or pressure-driven water means calling a professional rather than another coat.
Run your own wall through the waterproofing companion as you work, so the materials cost and the readiness score update against your actual linear feet and conditions.
The bottom line
Waterproofing a basement wall yourself is a realistic weekend project for the situation most homeowners actually face: a hairline to moderate crack, a damp patch after rain, or a wall weeping at a joint. The work itself, injecting a crack, patching a gap, coating a wall face, is not technically difficult. What makes the difference between a repair that holds and one that comes back in a month is the order: diagnose honestly, fix the cheap exterior cause first, dry the wall completely, seal before you coat, and test before you close the wall back up.
None of that requires special skill, only patience through the drying and curing steps most DIYers are tempted to rush. And when the wall shows you a wide or moving crack, a bowing section, or water arriving under real pressure, that is not a reason to feel like the project failed, it is the wall telling you honestly that this particular job belongs with a professional instead.
ProsNook publishes this walkthrough to help homeowners understand and attempt routine basement wall waterproofing with confidence, not as professional engineering or construction advice. Every material, timeframe, and cost figure above is illustrative, and products, cure times, and local code requirements vary by brand and by region, so always follow your specific product’s instructions. If you encounter a wide or displaced crack, a bowing or leaning wall, or water arriving under real pressure, stop and consult a qualified foundation or waterproofing professional before proceeding.
Frequently asked questions
Can I waterproof a basement wall myself?
Often yes, for the common case: a hairline to moderate crack, a damp patch after heavy rain, or a wall that weeps along a cold joint. Grading corrections, downspout extensions, crack injection with a store-bought kit, hydraulic cement patching, and a masonry waterproofing coating are all within reach of a careful homeowner with ordinary tools and a free weekend. What is not a do-it-yourself job is active water entering under real hydrostatic pressure, a wall that is bowing or stepping, or a basement that floods rather than seeps, because those situations usually need interior drain tile and a sump, or a structural assessment, both of which belong with a professional. Diagnose honestly before you start, because the fix that matches the actual problem is the one that lasts.
What is the best waterproofing for the inside of a basement wall?
There is no single best product, because interior wall waterproofing is really three different jobs stacked in order. Active cracks get sealed with an epoxy or polyurethane injection, which bonds the crack from the inside out rather than sitting on the surface. Larger gaps, honeycombed concrete, or the joint where the wall meets the floor get patched with hydraulic cement, which expands as it cures against the water. The wall face itself gets a cementitious or masonry waterproofing coating, which reduces dampness and the musty smell on a wall that is not under real pressure. Skipping straight to the coating without sealing an active crack first is the most common reason a DIY job fails, because the coating was never designed to stop moving water on its own.
How do you stop water from coming through a basement wall?
Work from the outside in, in this order. First correct the grading and downspouts around the affected section, because roof and surface water concentrated against a wall causes a large share of basement leaks and is the cheapest fix there is. Second, let the wall dry completely so you can see the real extent of the problem rather than guessing through standing moisture. Third, inject or seal any active crack and patch larger gaps with hydraulic cement. Fourth, apply a masonry coating to the wall face as a finish, not a fix on its own. If water keeps coming after all four steps, the water is likely arriving under pressure from saturated soil, and that points toward an interior drain tile and sump system rather than another coat of sealant.
Does hydraulic cement really stop water?
Yes, for the job it is designed to do, which is plugging a gap or a hole against water that is actively present, including a hole with water coming through it right now. It is a fast-setting cement that expands slightly as it cures, pressing into the gap rather than just sitting across it, which is why it works even against a small active flow that would wash out an ordinary patch. It is not a substitute for crack injection on a thin, moving crack, and it is not a coating for a whole wall face. Use it for what it is built for: filling holes, honeycombed spots, and the wall-to-floor joint, then move on to injection and coating for the rest of the wall.
How long does interior basement wall waterproofing take to work?
The active work on a single wall section, from prepping a crack to finishing a coating, commonly takes a few hours to a full day, most of it concentrated in prep and cure time rather than application. Hydraulic cement sets in minutes, injection resins cure over a few hours depending on the product, and a masonry coating typically needs a dry cure window before it is tested. The real answer to whether it worked comes later: watch the repaired section through the next heavy rain or two, and ideally run the garden hose test described in this walkthrough before you close the wall back up with drywall or framing. A repair that looks fine on a dry day is not proven until it has been tested wet.
Can you paint over a wet basement wall?
No, and this is one of the most common do-it-yourself mistakes on this project. Masonry waterproofing coatings need a genuinely dry, clean surface to bond to, and applying one over an actively wet or actively leaking wall commonly traps the moisture behind the coating or simply fails to adhere, sending the water to find a new path instead of removing it. Dry the wall completely first, let it sit through a dry stretch to confirm the moisture is gone rather than just surface-dry, then coat. A wall that is damp from general humidity rather than an active leak is a different situation, and running a dehumidifier in the room for a few days before coating is the honest fix there.
What is the difference between waterproofing and damp proofing?
The two terms get used interchangeably but describe different levels of protection. Damp proofing is a thinner coating, often asphalt-based, applied mainly to new construction to resist soil moisture absorbing into the wall; it is not rated to resist standing water or real hydrostatic pressure. Waterproofing is a thicker, more robust system, whether that is a cementitious coating, a membrane, or a full drainage system, built to resist actual water pressure, not just dampness. A wall described as damp proofed that is now facing real water intrusion usually needs an upgrade to a true waterproofing approach, not another coat of the original product.
When should I call a professional instead of doing it myself?
Call a professional when any of four signs show up. The crack is wider than about an eighth of an inch, displaced, or growing, which points toward a structural question rather than a simple leak. The wall is visibly bowing, stepping, or leaning, which is a foundation issue outside the scope of sealant and coating. Water is entering under real pressure, arriving fast or in volume rather than seeping, which usually means the soil outside is saturated and an interior drain tile and sump, or exterior excavation, is the actual fix. Or you have tried the steps here and the wall is still wet after the next heavy rain, which means the diagnosis was likely wrong and a professional assessment will find what you missed. None of those four is a DIY failure; they are simply a different job.