What's on this page
- Before you start
- The DIY-vs-hire decision in one picture
- Step 1: Assess your real skill and time honestly
- Step 2: Price the true cost of doing it yourself
- Step 3: Get a real pro quote to compare against
- Step 4: Weigh the risk, code, and permit stakes
- Step 5: Factor in warranty, insurance, and resale
- Step 6: Consider the hybrid (DIY demo, pro install)
- Step 7: Score the decision and choose per project
- A worked example: a DIY vs hire call on a bathroom
- When DIY becomes false economy
- Common mistakes in a DIY-vs-hire decision
- Troubleshooting: tricky DIY-vs-hire calls
- The DIY-vs-hire checklist
- The bottom line
Short answer: Decide per project, not by personality. Read your skill and time honestly, total the true DIY cost as materials plus tools plus the value of your hours plus a buffer for mistakes, line that up against a real quote, then weigh the risk, permit, warranty and resale effects. Hire out anything touching wiring, gas, plumbing, roofing or structure, and hire when the saving per hour is below what your time is worth.
Every home project starts with the same quiet question: should I just do this myself, or should I hire someone? The honest answer is almost never a blanket yes or no, because the right call changes with the job, your skill, the risk, and what your time is actually worth. Homeowners who decide by instinct tend to make one of two mistakes: they DIY a job that quietly costs them more than a pro would have, or they hire out work they could have done well for a fraction of the price. Both come from skipping the short comparison that turns the gut feeling into a decision you can defend.
This walkthrough gives you that comparison as a repeatable seven-step process you can run on any project. It covers an honest read on your own skill and time, the true cost of doing it yourself once tools and your hours are counted, how to line that up against a real quote, the risk and permit stakes, and the warranty and resale effects most people forget. For the cash side of hiring, our note on how much to hire a contractor breaks down what pros charge and why, and once you have a candidate, our step-by-step on how to vet a contractor covers checking their license and insurance. Start by pulling a rough number for the work from the job cost estimator, so both sides of your decision sit next to a realistic figure.
Key takeaways
- The DIY-vs-hire call is per project, not a personality. The same person should DIY the painting and hire out the panel upgrade, because the deciding factors change with the job.
- DIY is rarely as cheap as it feels: the honest cost is materials plus tools plus the value of your hours plus a buffer for mistakes, and that total is often closer to a pro quote than expected.
- Hire out anything that touches wiring, gas, plumbing, roofing, or structure, or that needs a permit and inspection. That is where a mistake gets expensive or dangerous fast.
- The hybrid path, DIY demolition and cleanup paired with professional installation, cuts cost on the labor-heavy parts without taking on the risky ones.
- Test for false economy by dividing the money you save by the hours it takes you. If that effective hourly rate is below what your time is worth, hiring usually wins.
Before you start
This decision goes quickly when you have a few numbers and facts in reach, and it turns into guesswork when you do not. None of it is hard to gather, and having it ready is what lets the comparison take minutes instead of turning into a weekend of second-guessing.
- A clear scope for the exact job. Write down what “done” looks like in one or two sentences. A vague project (“redo the bathroom”) hides a dozen sub-decisions, while a defined one (“replace the vanity, retile the floor, repaint”) can actually be priced and compared on both sides.
- A rough materials and tools list. You do not need every SKU, just the big line items and any specialty tools you would have to buy or rent. This is the backbone of your honest DIY cost.
- At least one real pro quote, or a solid estimate. Run the job through the estimator or read the relevant cost file so you have a number to compare DIY against. A guess is not a comparison.
- An honest value for your own time. Decide what an hour of your weekend is genuinely worth to you. This single number is what separates a real saving from a mirage, and most people leave it out entirely.
Time and difficulty: the comparison itself takes under an hour once you have the inputs, spread across the time it takes to get a quote back. The work is not technical; it is honesty. Everything below is written as one imperative step at a time, in the order a careful homeowner runs them, so you can work straight down the list and land on a decision you trust.
The DIY-vs-hire decision in one picture
Before the steps, it helps to see the whole shape, because a good DIY-vs-hire call is really five factors weighed together rather than a single cost comparison. Each one can flip the decision on its own. The true cost gap tells you whether there is real money on the table. The risk and permit stakes tell you how expensive a mistake would be. Your honest skill for this job tells you how likely that mistake is. The time you actually have tells you whether “someday” is realistic. And the warranty and resale exposure tells you what the decision costs you later, not just today.
No single factor decides it, which is exactly why you weigh all five. A huge cash saving means little on a job where a mistake floods the house, and a job perfectly within your skill is still worth hiring out if the saving works out to a few dollars an hour of your weekends. The weighting below is illustrative, a rough sense of how much each factor tends to pull on the decision, and the point is not the exact percentages but the principle that cost and risk usually carry the most weight while the softer factors break the ties.
What should tip a DIY-vs-hire decision
Illustrative weighting of how much each factor tends to pull on the call.
The weights are illustrative. The pattern is fixed: the cash gap and the risk usually carry the most weight, and skill, time, and resale break the ties.
Hold this picture in mind as you work, because the companion on this page reads back a live DIY-vs-hire cost comparison from your own numbers as you scroll. When you feel the pull to decide on instinct, come back here: instinct is a feeling, and the comparison is the evidence.
Step 1: Assess your real skill and time honestly
Start with the most uncomfortable input, because it is the one people fudge: how good are you at this specific job, and do you actually have the hours? Skill is not general handiness; it is task-specific. Someone who paints beautifully may have never hung a door or set tile, and the confidence from one skill does not transfer to another. Be honest about whether you have done this exact work before, whether you have only watched it done, or whether you would be learning from scratch on your own house, which is the most expensive classroom there is.
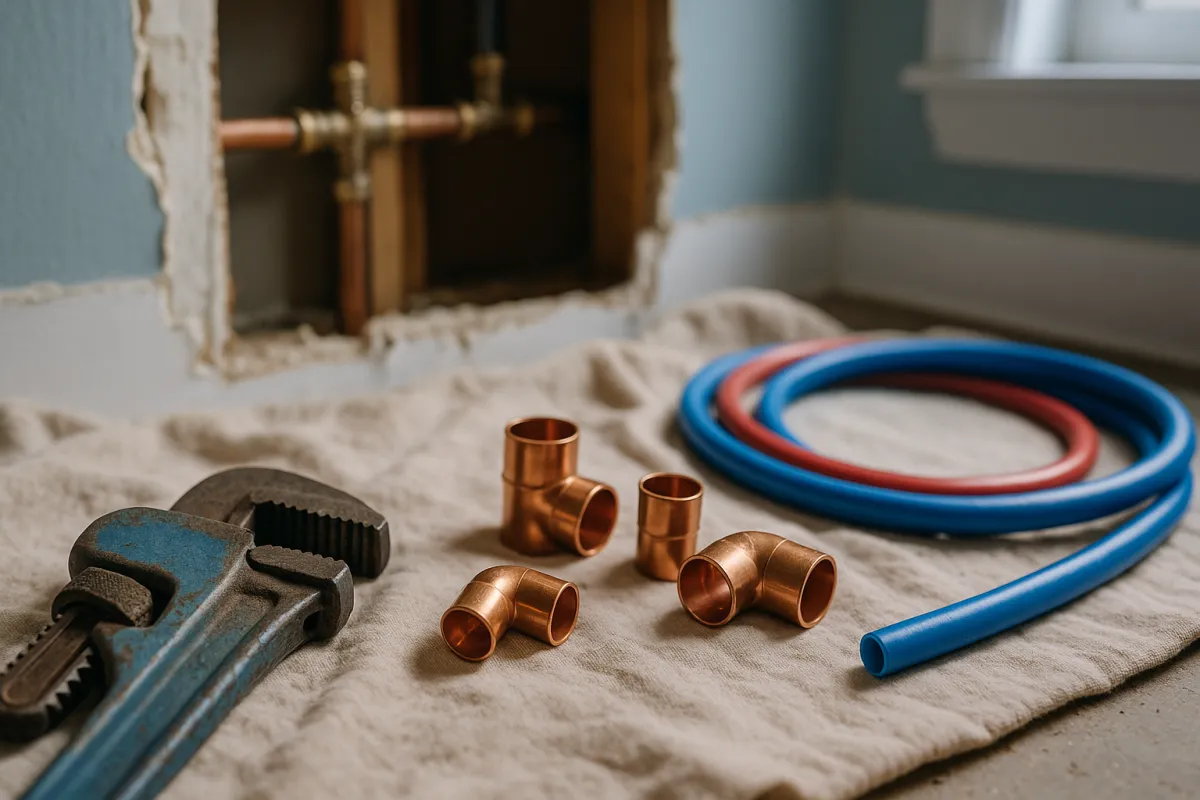
Then price your time realistically. A pro who does a job daily may finish in a day what takes a first-timer three weekends, because they own the tools, know the sequence, and do not stop to research each step. Estimate the hours the job would honestly take you, then add a margin, because first attempts almost always run long. Multiply those hours by what an hour of your free time is genuinely worth to you, whether that is measured against your wages, your family time, or simply your sanity. That number is not optional; it is half of the true DIY cost, and leaving it out is how “free labor” becomes the most expensive line in the project.
Watch out for the confidence that a video creates. Watching an expert make tiling look effortless is not the same as owning the muscle memory, and the edited clip skips the parts where they fixed their own mistakes. A useful gut check: if you cannot explain the two or three ways this job most commonly goes wrong, you do not yet know it well enough to price the risk of doing it yourself, which is exactly what the later steps make you do.
Step 2: Price the true cost of doing it yourself
Now build the honest DIY number, because “I will just buy the materials” is not the real cost. Start with materials, using your list from before you start, and price the version you would actually buy rather than the cheapest possible. Then add the tools: any tool you do not own and would have to buy or rent counts against this project, even if you keep it afterward, because you would not be buying it otherwise. A specialty tool used once can quietly erase the labor saving all on its own, so count it honestly.
Add the easily-forgotten line items: delivery fees, disposal or dumpster costs for demolition debris, consumables like blades and fasteners, and any finishing materials. Then add the biggest hidden cost from Step 1: the value of your hours. If a job takes you thirty hours and you value your time at an illustrative $25 an hour, that is $750 of real cost sitting invisibly inside the “free” DIY plan. Finally, add a modest buffer for first-timer mistakes, because a wasted box of tile or a second trip’s worth of lumber is the norm, not the exception, on a first attempt.
As an illustrative example, a DIY job with $800 in materials, $250 in tools you would have to rent, and thirty hours of your time valued at $25 each carries a true cost near $1,800 before any mistakes, not the $800 the materials receipt suggests. Watch out for anchoring on the materials number alone; it is the number DIY marketing wants you to see, and it is the one that makes hiring look expensive by comparison. The companion calculator on this page adds every one of these lines for you so the DIY total you carry into the next step is the honest one.
Step 3: Get a real pro quote to compare against
A DIY cost means nothing without something to compare it to, so get a real number for hiring the work out. The best version is an actual written quote, or ideally two or three, from contractors who have seen the job. If you are earlier than that, use the job cost estimator or a relevant cost file to build a grounded estimate, but treat a real quote as the gold standard, because it reflects your specific market, your specific scope, and current material prices in a way no general average can.
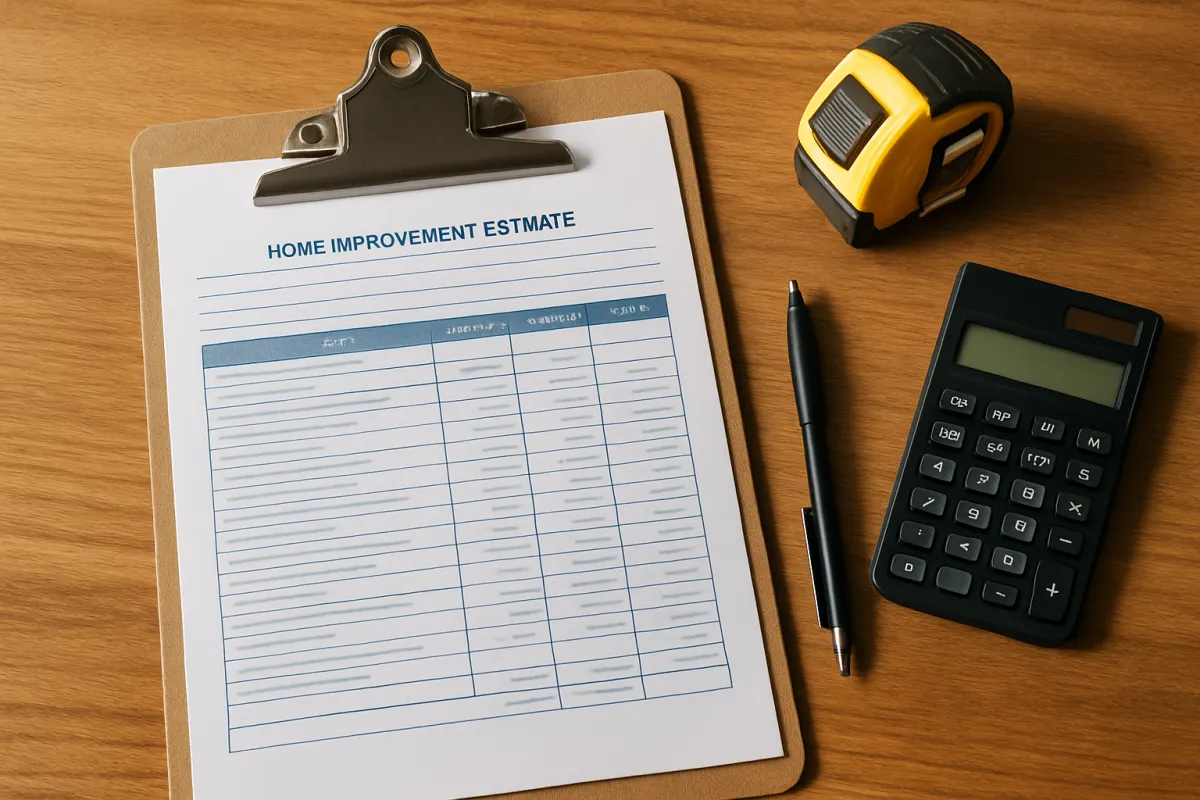
When you read the quote, understand what you are actually comparing. A large share of most contractor quotes is skilled labor, which is precisely the part you would be replacing with your own hours. On a labor-heavy job, that is where DIY can save real money. On a materials-heavy or tool-heavy job, the labor slice is smaller, so the potential saving shrinks even before you count your time. For help reading a quote line by line, our note on how to compare contractor quotes shows what each section means and where padding hides.
Now do the single most clarifying calculation in this whole process: subtract your out-of-pocket DIY cost (materials plus tools, not counting your hours) from the pro quote, then divide by the hours the job would take you. That is your effective hourly rate for doing it yourself, the real wage your weekends would earn. Watch out for comparing the pro quote against your materials-only number; that is not a fair fight, and it is the exact error that talks people into jobs that pay them a few dollars an hour of their own time.
Step 4: Weigh the risk, code, and permit stakes
Cost tells you what you might save; risk tells you what you might lose, and this step can override the money entirely. Ask two questions about the job. First, how bad is a mistake? A crooked shelf is embarrassing; a plumbing error behind a finished wall or a roofing gap can cause water damage worth many times the labor you saved. Second, does the work touch a life-safety system? Electrical, gas, main plumbing, roofing, and anything structural or load-bearing sit in a different category, because errors there endanger people, not just budgets, and they are exactly the trades most areas require a licensed pro to perform.
Permits are the other half of this step, and they are not optional paperwork. Much significant work legally requires a permit so the job is inspected and recorded as meeting code. Unpermitted work, including DIY work, can fail a future inspection, stall or complicate a home sale, void your insurance, and leave you personally liable for bringing it up to code later. Before you decide to DIY anything beyond the cosmetic, call your local building department and ask what your specific project requires, then factor the permit process into your plan. Our step-by-step on how to get a building permit walks through who pulls them and how the process runs.
As an illustrative example, saving a few hundred dollars in labor on unpermitted electrical work can turn into several thousand dollars to legalize and correct before a sale, plus the risk that an insurer denies a claim tied to the uninspected work. Watch out for the reasoning that “it is my house, I can do what I want.” You often legally can do some of it, but the code, the inspection, and the resale consequences do not care about the sentiment, and they are where a cheap DIY decision quietly becomes an expensive one.
Step 5: Factor in warranty, insurance, and resale
The DIY-vs-hire call has a tail that reaches past the project itself, and this step prices it. Start with warranty. Professional installation often carries a labor warranty from the contractor and preserves the manufacturer’s warranty on the materials, so if something fails, someone other than you is on the hook to fix it. Self-installed materials frequently lose that protection, and a botched DIY installation can void a product warranty entirely, meaning the first failure becomes a full replacement on your dime. For anything expensive or failure-prone, that warranty coverage is part of what the pro quote actually buys you.

Insurance is the quieter factor. A licensed, insured contractor carries coverage that responds if the work damages your property, while a DIY mistake comes out of your own pocket, and some homeowner policies limit or exclude damage arising from your own unpermitted or unqualified work. It is worth confirming with your insurer where your policy stands before you take on anything that could cause significant damage if it goes wrong.
Then there is resale. Visible-quality work done poorly reads as amateur to a buyer and can reduce appeal, while unpermitted DIY changes can surface in inspection or disclosure and complicate a sale, sometimes forcing you to legalize or redo the work before closing. As an illustrative principle, the more likely a future buyer or inspector is to scrutinize a piece of work, the more the resale and warranty exposure should weigh toward hiring a pro. Watch out for treating a small saving today as free when it quietly mortgages a larger cost at sale time.
Step 6: Consider the hybrid (DIY demo, pro install)
The decision is not binary, and this step is the one most homeowners skip to their own cost. Many projects split cleanly into a labor-heavy, low-skill portion and a skill-heavy, high-stakes portion, and you can DIY the first while hiring out the second. The classic split is demolition and cleanup, which is mostly sweat and requires little expertise, paired with professional installation of the parts where skill and code compliance matter. You supply the free labor on the forgiving work and buy the expertise only where it counts.

The savings can be meaningful, because demolition, hauling, painting, fixture shopping, and final cleanup are all things a contractor would otherwise charge labor for. As an illustrative example, handling your own demo and cleanup on a small remodel can shave a real slice off the quote while leaving the tiling, plumbing, or electrical to the licensed pro who should be doing it anyway. You keep the low-risk saving and hand off the high-risk work, which is often the best of both columns. That split is also the standard way homeowners trim a basement finishing budget, supplying the demolition, framing, insulation, and painting labor while licensed pros handle the electrical, plumbing, and egress work.
Make the split explicit before anyone signs. Discuss exactly which tasks are yours and which are the contractor’s, put the division in the scope of work, and confirm two things: that your DIY portion will not void the warranty on the pro’s work, and that your part will be finished and ready when the crew needs it, because a crew waiting on your demo is a crew you may be paying to stand around. Watch out for taking on a hybrid portion you cannot actually complete on schedule; a half-finished DIY demo that stalls the professional work can cost more than it saved.
Step 7: Score the decision and choose per project
Now pull the five factors together and make the call, remembering that the answer is specific to this project and not a verdict on your abilities. Lay the factors side by side: the true DIY cost from Step 2 against the quote from Step 3, the effective hourly rate that comparison produces, the risk and permit stakes from Step 4, your honest skill and time from Step 1, and the warranty and resale exposure from Step 5. You are looking for the weight of the evidence, not a single trigger.
A clear DIY win looks like this: low risk, forgiving of mistakes, within your skill, and an effective hourly rate comfortably above what your time is worth. A clear hire looks like the opposite: the work touches a life-safety system or the structure, a permit is required, a mistake is expensive, or the saving works out to a few dollars an hour of your weekends. When the factors point in different directions, let the two heaviest, cost and risk, break the tie, and remember the hybrid path exists for exactly the in-between cases.
Where the money goes in a DIY job
Illustrative breakdown of an honest DIY total, summing to 100.
The shares are illustrative. The principle is fixed: your time and a mistake buffer are real DIY costs, and leaving them out is what makes DIY look cheaper than it is.
Watch out for deciding once and applying it to everything. The same homeowner should reach different answers for painting a bedroom and rewiring a circuit, because the factors are different, and the companion on this page is built to be re-run for each job so the decision stays project-by-project.
A worked example: a DIY vs hire call on a bathroom
Walk one illustrative project through all seven steps to see how they connect. A homeowner is weighing a small bathroom refresh: replace the vanity, retile the floor, and repaint. A contractor has quoted an illustrative $2,600 for the whole job. The instinct is that DIY must be far cheaper, so they run the comparison instead of guessing.
In Step 1, they rate their skill honestly: they have painted before and are confident there, have never tiled, and have never set a vanity with plumbing connections. They estimate thirty hours across a few weekends and value their time at an illustrative $25 an hour. In Step 2, they price the DIY side: about $800 in materials, plus $250 to rent a tile saw and buy trowels and spacers they do not own, which is $1,050 out of pocket before their hours. Add thirty hours at $25, or $750, plus a small mistake buffer, and the honest DIY total lands near $1,850.
In Step 3, they compare: the $2,600 quote against $1,050 out of pocket is a $1,550 cash gap, which over thirty hours is an effective rate of about $52 an hour of their time, well above the $25 they value it at. Cash-wise, DIY looks appealing. But Step 4 changes the picture on the plumbing: connecting the vanity drain and supply is where a mistake becomes water damage, and it is the part they have never done. Step 5 notes that professional installation would carry a workmanship warranty the DIY version would not.
So in Step 6 they choose the hybrid: they DIY the painting and the demolition, and they seriously consider DIY tiling since a floor mistake is visible and fixable before it matters, but they hire the pro to set the vanity and make the plumbing connections. In Step 7 they score it: the cash saving is real, the painting and demo are low-risk and within reach, and hiring out only the plumbing removes the one factor that could turn a $1,550 saving into a flooded floor. Every figure here is illustrative, but the shape is the lesson: the comparison, not the instinct, produced a smarter and cheaper plan than either pure DIY or a full hire.
When DIY becomes false economy
It is worth naming the trap directly, because it is where the most money is lost. False economy is when the saving from doing it yourself is smaller than the cost of the risk, the mistakes, or the rework you take on, and it wears a convincing disguise: the materials receipt looks cheap right up until the real bill arrives. Several patterns show up again and again, and recognizing them is what keeps a good intention from becoming an expensive one.
The first is the rework spiral, where a botched attempt has to be torn out and redone by a pro, so you pay for materials twice and labor once, ending up above the original quote. The second is the invisible-wage trap, where the job technically saves money but eats so many weekends that the effective hourly rate is a fraction of what your time is worth. The third is the permit and resale tail, where unpermitted DIY work passes unnoticed for years and then costs real money to legalize or redo at sale time. The fourth is the specialty-tool sinkhole, where the tools needed to do the job properly cost nearly as much as hiring it out.
The common thread is that all four are invisible at the materials-receipt stage and only appear once you price the full picture, which is exactly what Steps 2 through 5 force you to do. As an illustrative test, if the money you would save divided by the hours it would take falls below what your time is genuinely worth, or if a single plausible mistake could cost more than the entire saving, you are probably looking at false economy. Watch out for the sunk-cost version, too: once a DIY job is underway and stuck, the honest move is to compare the cost to finish or fix it against a rescue quote, not to keep spending good weekends after bad.
Common mistakes in a DIY-vs-hire decision
Most bad calls trace back to the same short list of avoidable errors, and every one of them is a factor the homeowner assumed instead of pricing.
- Comparing materials-only against the full quote. The materials receipt is not the DIY cost. Leaving out tools, your hours, and a mistake buffer makes DIY look cheaper than it is and hiring look worse than it is.
- Valuing your own time at zero. “Free labor” is the most expensive line in many DIY plans. Price your hours honestly, because thirty weekend hours are not free just because no invoice arrives.
- Overrating task-specific skill. Being handy in general does not mean you can tile, wire, or plumb. Rate your ability for this exact job, and count a video as awareness, not experience.
- Ignoring permits and code. Unpermitted DIY work can fail inspection, void insurance, and complicate a sale. Confirm what your project requires before you decide, not after.
- Skipping the warranty and resale tail. A small saving today can cost more at sale time or on the first failure. Weigh the coverage a pro quote buys, not just the labor.
- Deciding once for every project. The right answer changes with the job. Re-run the comparison per project instead of applying one blanket rule to all of them.
Every one of these is prevented by the same discipline the seven steps build: price both sides fully, value your own time, respect the risk and the permits, and decide project by project.
Troubleshooting: tricky DIY-vs-hire calls
Even a careful comparison hits ambiguous cases. Here is how to handle the common ones.
What if I cannot get a pro quote before deciding? Use a grounded estimate rather than a guess. Run the job through the job cost estimator or read a relevant cost file to build a defensible number, and treat it as provisional. If the DIY case only wins by a thin margin against an estimate, get at least one real quote before committing, because the estimate could be off in either direction and a thin margin does not survive a surprise.
What if the job is partly within my skill and partly not? This is the textbook case for the hybrid path from Step 6. Split the project into the low-risk, low-skill portion you can do and the high-risk, high-skill portion you hire out, define the split in writing with the contractor, and confirm your part will be ready on schedule. You capture the saving on the forgiving work without gambling on the parts that punish mistakes.
What if I have the skill but not the time? Skill without time is a common trap, because a job you could do well but only in scattered hours can drag for months, leaving your home disrupted and sometimes unsafe or unusable in the meantime. Value the disruption honestly alongside the hours, and remember that a pro finishing in days what would take you months has real value even when your effective hourly rate looks fine on paper.
What if a required permit needs a licensed contractor? Then the decision is made for you on that portion, and pressing on with unpermitted DIY is not a saving but a liability. Confirm the requirement with your building department, hire the licensed pro for the work that legally needs one, and reserve your DIY energy for the parts that do not, which is another version of the hybrid split.
What if I already started and got stuck? Stop before you make it worse, and run the same comparison from the middle: price the cost to finish or fix it yourself against a quote to rescue it. Expect a rescue to sometimes cost more than hiring from the start, because the pro may have to undo your work first, and treat that as tuition rather than pressing on and compounding the loss.
The DIY-vs-hire checklist
Save this and run every project through it before you commit to doing it yourself or hiring it out.
- Skill rated honestly for this exact job, not general handiness, and the two or three common failure modes understood.
- Time estimated with a margin and multiplied by an honest value for your own hours, because your labor is a real cost, not a free one.
- True DIY cost totaled: materials, tools bought or rented, delivery and disposal, your hours, and a mistake buffer, not the materials receipt alone.
- A real quote or grounded estimate in hand to compare against, ideally two or three, with the labor share understood.
- Effective hourly rate calculated: the saving divided by your hours, checked against what your time is genuinely worth.
- Risk and permits confirmed: whether the work touches a life-safety system or structure, and what your building department requires.
- Warranty, insurance, and resale weighed: what the pro quote covers that DIY would not, and how a future buyer or inspector would see the work.
- Hybrid split considered: whether DIY demolition and cleanup plus professional installation beats an all-or-nothing choice.
Run your project through the job cost estimator first, so both sides of the decision sit beside a realistic number and the whole comparison holds together.
The bottom line
Deciding whether to DIY or hire is not a test of how capable you are; it is a short comparison you run fresh on each project. Price the true DIY cost including your own time, line it up against a real quote, respect the risk and the permits, weigh the warranty and resale tail, and remember the hybrid path exists for the in-between jobs. Do that, and the decision stops being a gut feeling and becomes a number you can stand behind.
The homeowners who lose money are rarely the ones who cannot swing a hammer; they are the ones who decided by instinct, either DIYing a job that quietly cost more than a pro would have or hiring out work they could have done well. The comparison in this article costs under an hour and protects you from both mistakes. Run it every time, value your own time honestly, and let the evidence, not the impulse, make the call.
ProsNook publishes this walkthrough to help homeowners weigh a DIY-vs-hire decision with clear numbers, not to serve as professional, legal, or safety advice. Every dollar figure, hourly value, and percentage above is illustrative and will differ with your market, your project, and your own skill, so treat them as a framework rather than a quote. Some work legally requires a licensed contractor and a permit regardless of confidence, so confirm what your local building department and insurer require for your specific job, and consult a qualified professional before taking on anything that touches wiring, gas, plumbing, roofing, or structure.
Frequently asked questions
How do I decide whether to DIY or hire a contractor?
Run the same project through five lenses in order: your honest skill and time for this specific job, the true cost of doing it yourself, a real pro quote to compare against, the risk and code or permit stakes, and the effect on warranty and resale. DIY tends to win when the job is low-risk, forgiving of small mistakes, and mostly labor you can supply, because labor is the biggest line a contractor charges for. Hiring tends to win when the work touches wiring, gas, plumbing, or structure, when a mistake is expensive or dangerous to fix, or when a permit and inspection are involved. The decision is per project, not a personality: a confident DIYer still hires out the panel upgrade, and a reluctant one still paints their own bedroom.
Is it always cheaper to DIY than hire a contractor?
No, and treating DIY as automatically cheaper is where many homeowners lose money. The honest DIY cost is materials plus the tools you have to buy or rent plus the value of your own hours plus a buffer for the mistakes a first-timer makes, and once you add those up the gap to a pro quote is often smaller than it looks. On a job where a contractor's quote is mostly their skilled labor, DIY can save a real amount. On a job where materials and specialty tools dominate, or where a botched attempt has to be torn out and redone by a pro anyway, DIY can end up costing more than hiring would have. The only way to know is to price both sides for your specific job, which is what the companion on this page helps you do.
When is DIY false economy?
DIY becomes false economy when the money you save on labor is smaller than the cost of the risk, the mistakes, or the rework you take on by doing it yourself. Common examples include work that fails a future inspection and must be redone, a plumbing or roofing error that causes water damage worth many times the labor saved, or an unpermitted change that stalls a home sale later. It is also false economy when the job eats so many of your weekends that the saved dollars work out to a very low effective hourly rate for your time. A useful test is to divide the money you would save by the hours the job would take you: if that number is below what your time is genuinely worth, the saving is thinner than it feels.
What jobs are safe to DIY and which should I hire out?
As an illustrative rule of thumb, cosmetic and low-stakes work is the friendliest to DIY: interior painting, simple landscaping, basic trim, assembling and mounting, and small cosmetic repairs where a mistake is cheap and visible before it matters. Work that touches life-safety systems or the structure of the house is where most homeowners should hire a licensed pro: electrical panel and wiring work, gas lines, main plumbing, roofing, and anything structural or load-bearing. The middle ground, such as tiling, flooring, drywall, and cabinet installation, is doable for a patient DIYer but punishes rushing, so honesty about your skill and time matters most there. Always confirm what your local building department requires, because some work legally needs a licensed contractor and a permit regardless of your confidence.
Can I do some of the work myself and hire out the rest?
Yes, and this hybrid approach is one of the most underused ways to cut a project's cost without taking on its riskiest parts. The classic split is DIY demolition and cleanup, which is labor-heavy but low-skill, paired with professional installation of the parts where skill and code compliance matter. You can also handle your own painting, fixture shopping, and final cleanup while the pro does the technical core. Discuss the split with your contractor before signing, because a clearly defined scope prevents disputes over who is responsible for what, and confirm that your DIY portion will not void the warranty on the pro's work or complicate an inspection.
Does DIY affect my home's resale value or warranty?
It can, in both directions, so it belongs in the decision rather than as an afterthought. Visible-quality work done poorly can read as amateur to a buyer and reduce appeal, while unpermitted DIY changes can surface during a sale, complicate the transaction, and sometimes have to be legalized or redone before closing. On the warranty side, professional installation often carries a labor warranty and manufacturer coverage that self-installed materials may not, and a botched DIY attempt can void a product warranty entirely. For anything that a future buyer or inspector will scrutinize, weigh the resale and warranty exposure alongside the cash saving, because a small saving now can cost more than it returns later.
How do I compare a DIY cost to a contractor's quote fairly?
Put both on the same footing by pricing every input on the DIY side, not just the obvious ones. Add up materials, the tools you would buy or rent, any disposal or delivery fees, and then value your own hours at a rate that reflects what your time is genuinely worth, plus a modest buffer for first-timer mistakes. Compare that honest total to the pro quote, and also calculate your effective hourly rate: the money you save by doing it yourself divided by the hours it will take. If that effective rate is comfortably above what your time is worth and the risk is low, DIY makes sense; if it is thin or the job is high-stakes, the quote is usually the better buy. The estimator and companion on this page are built to run exactly this comparison.
What should I do if I start a DIY project and get stuck?
Stop before you make the problem worse, and be honest that finishing badly is more expensive than pausing. First, assess whether the issue is a learning curve you can safely climb with more research and time, or a genuine skill or code limit that calls for a professional. If it touches electrical, gas, plumbing, or structure, or if a mistake could cause damage or fail an inspection, bring in a licensed pro rather than pressing on. Expect that a rescue job can cost more than hiring from the start, because the contractor may have to undo your work first, and treat that as the tuition for a useful lesson about where your real DIY line sits. Getting a quote to finish or fix the work is not a failure; it is the same true-cost comparison you should have run at the beginning.